Service Level Agreements (SLA)
Creating a new SLA
There are two ways you can create an SLA
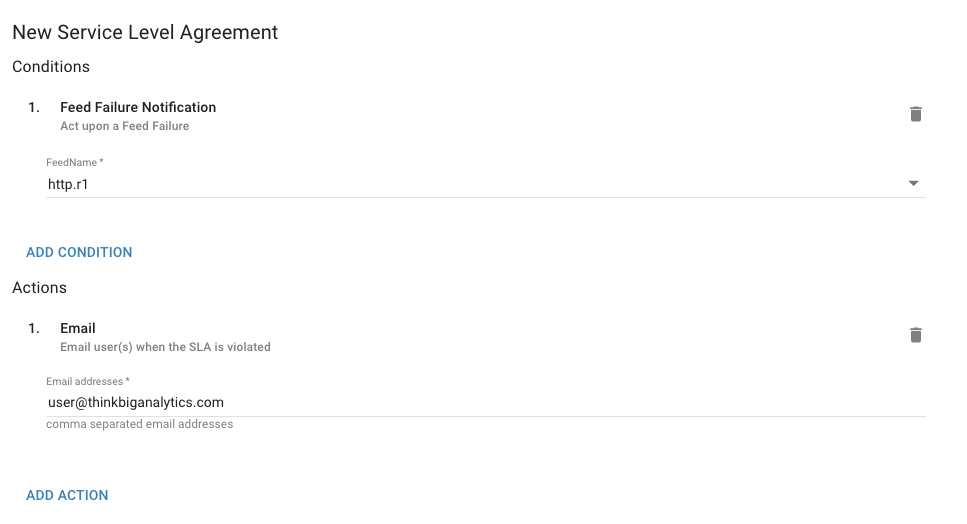
The feed SLA tab
- Click on a Feed
- Click on the SLA Tab
- Click Add SLA
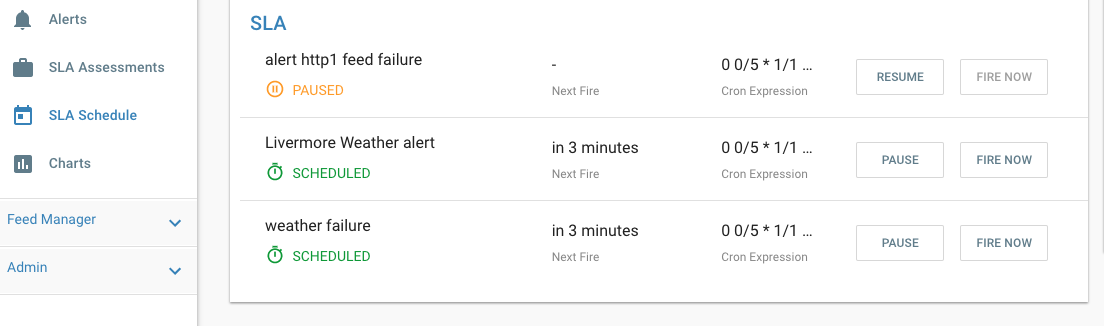
SLA Schedule
All SLA’s are assessed the same schedule. This is defined in the kylo-services application.properties file, defaulting to every 5 minutes.
## how often should SLAs be checked
sla.cron.default=0 0/5 * 1/1 * ? *
You always choose to manually assess an SLA in Kylo -> Operations -> SLA Schedule and click the
Fire Nowbutton
SLA Assessment
When an SLA is assessed, it will use/derive values that define the uniqueness of that assessment and determine if it is a new violation to generate an alert and email or not.
For example the Feed Processing Deadline condition identifies the uniqueness by the feed, and the expected date.
- Kylo will assess the SLA and see if it passes/fails.
- If it fails the SLA it will determine if the failure is new based upon the unique properties resolved for that SLA (as described above)
- If this failure is new it will create the new Alert and then call the SLA violation actions (i.e. email, jira, etc).
- If the failure already has an alert associated with it that is Unhandled it will not generate a new alert/violation.
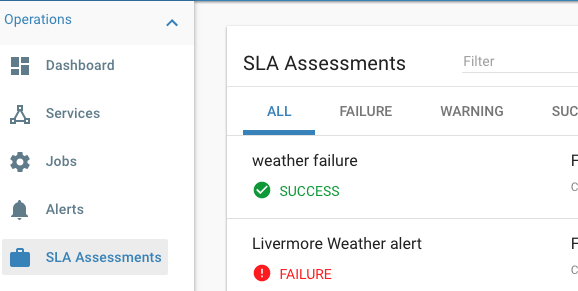
All assessments are persisted in Kylo’s metastore and can be queried from the SLA Assessments link, or from the SLA.

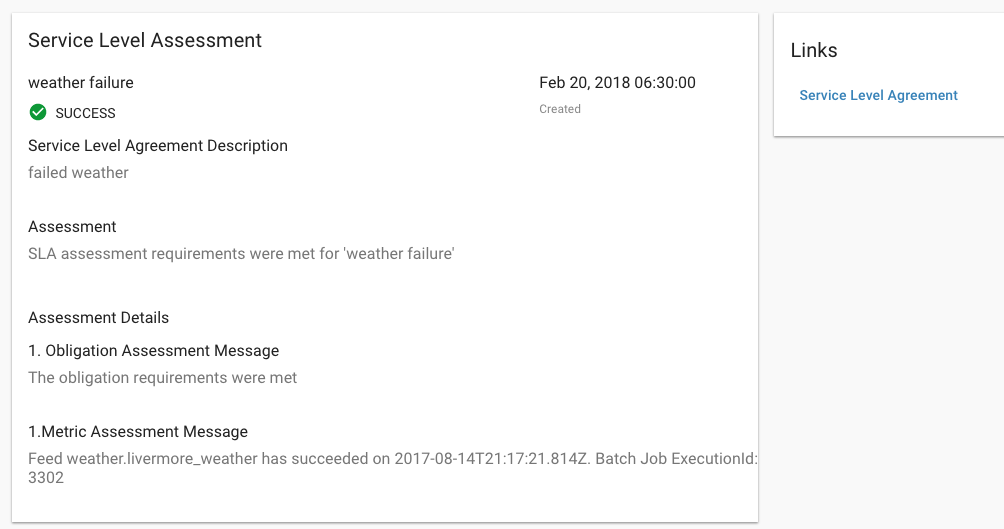
Clicking into an assessment lets you see its details and why it failed/succeeded. Each assessment also lets you navigate back to the actual SLA from the right panel.
Alerts
All SLA violations will generate an alert in Kylo. Alerts can be viewd under the Operations section and filtered to just show SLA Violation alerts.
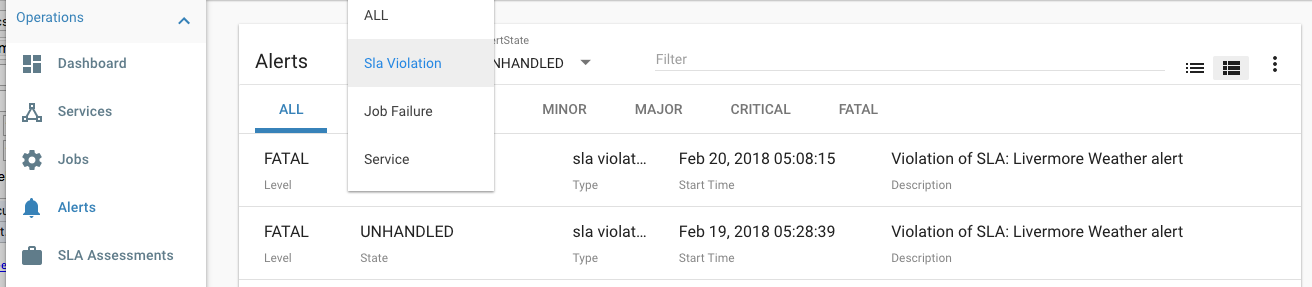
Clicking into an alert shows its detail and lets you navigate back to the assessment that generated this alert.
SLA Email
Installation and Configuration
If you use the kylo rpm installation the email plugin can be found in the
/opt/kylo/setup/plugins/sla-email. 1. Copy the kylo-sla-email-VERSION.jar to the/opt/kylo/kylo-services/pluginfolder 2. Copy and configure thesla.email.propertiesto the/opt/kylo/kylo-services/conffolder. Below is an example set of properties that connects to gmail. Modify this file with your email settingssla.mail.protocol=smtp sla.mail.host=smtp.gmail.com sla.mail.port=587 sla.mail.smtpAuth=true sla.mail.starttls=true ## optional properties ##sla.mail.sslEnable=true ##sla.mail.smptAuthNtmlDomain= ##replace value below with a valid email address. this is the from email that will appear when a user receives a sla violation email sla.mail.from=sla-violation@thinkbiganalytics.com ##replace value below with a valid email address that will use the sla.mail.host above sla.mail.username=user@gmail.com ##replace with a valid password for the email address assigned above sla.mail.password= ## debug flag sla.mail.debug=false
- Once you do this and modify the jar/properties a restart of kylo-services is required. It will then be available as an Action when creating the SLA
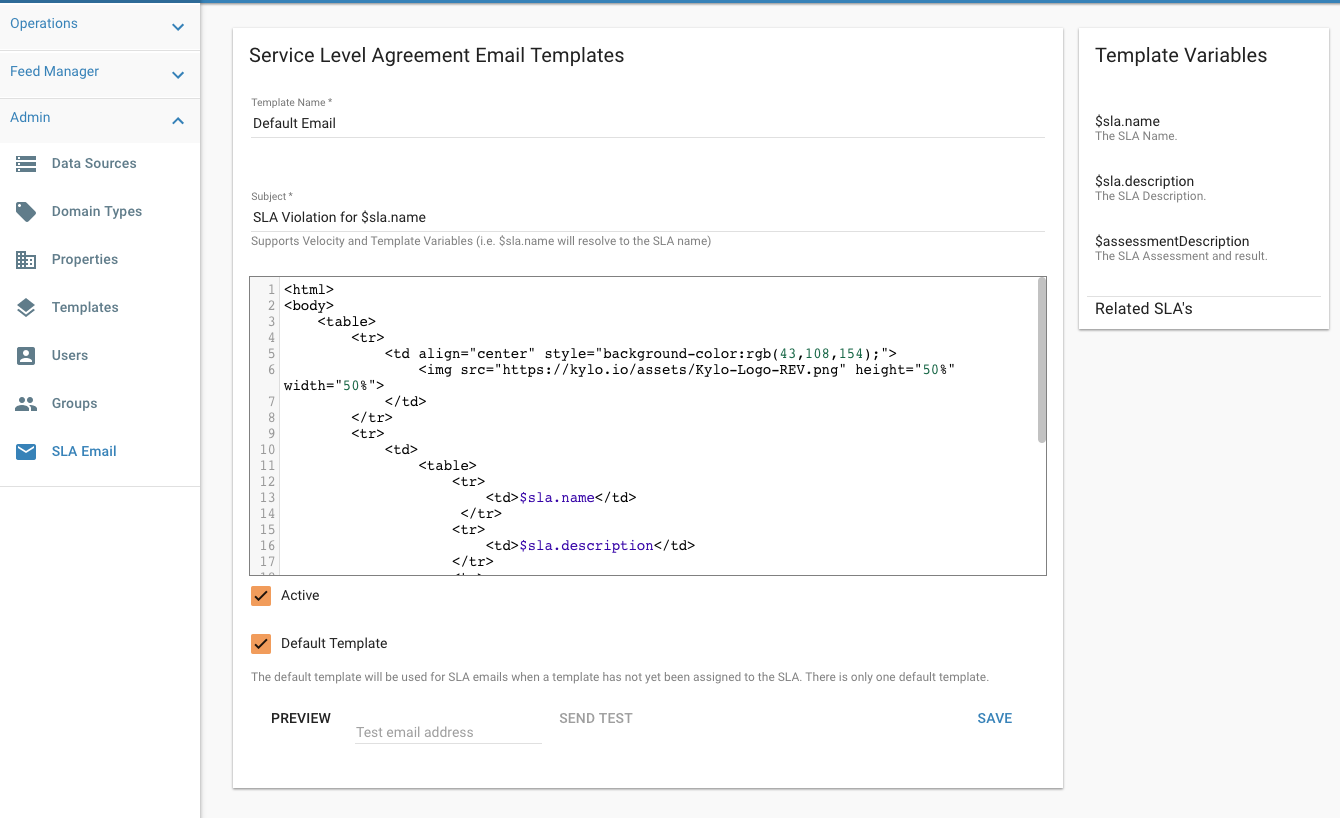
Email Templates
As of Kylo 0.8.4.1 SLA email templates can be customized in Kylo using the Admin -> SLA Email.
This lets you craft an email template. Assessment variables will be injected into the email. You can preview in the browser and also send a test email to verify the template prior to saving.
Developer Guide
SLA Conditions and Actions are pluggable and Kylo lets you create your own by writing a Java Plugin. Details on how to do this can be found here: https://github.com/Teradata/kylo/tree/master/core/sla
You can also use the default sla-email plugin provided by Kylo as an example: https://github.com/Teradata/kylo/tree/master/plugins/sla-email