Kylo Templates Guide
Templates facilitate the creation of data flows. They can be:
- normal (1 template for the whole flow)
- reusable (1 reusable template and 1 flow template)
Important
More on reusable flows here
Setup templates
Import Kylo template
- Import template from file
- Select file
- Select overwrite + replace the reusable template option
- Register the template
Note
The following sections apply only if you didn’t import yet a template in Kylo, or are lacking a Kylo template archive.
Import reusable template
- Import template from file.
Warning
You can’t import the reusable template from NiFi environment, as it has input/output ports which need to be connected.
- Select file and select overwrite + replace the reusable template option
- Register the template
Import flow template
- Import template from NiFi environment (as we want to customize it)
- Enable/Customize the available fields (steps 2 - 4)
- Under Connection Options (step 5) - connect the output ports from the flow template to the input ports from reusable template
- Customize the Feed Lineage Datasources
- Register the template
Update template
- Remember the template name <template_name> from NiFi
- Create a new flow from the template <template_name>
- Modify your flow for <template_name>
- Delete <template_name> in NiFi template registry
- Save flow with name <template_name>
- In Kylo (if exists), from the Template menu, go through the edit wizard (click on the template name), so that it’s reinitialized properly
Indicating Flow Failures
When Data is sent to Kylo Operations Manager it indicates if the flow file has been successful or has failed. Failures are indicated two ways
When the flow file passes through an ‘Auto terminate on failure’ relationship. In a processor in NiFi if you check the box ‘Auto terminate on failure’ and the flow file passes through this relationships and fails it will send the failure message to Kylo Operations Manager and fail the job/step.
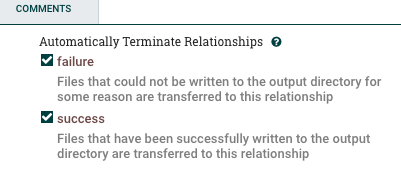
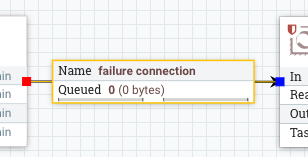
If the NiFi connection has the word ‘failure’ in it and the flow files pass through that connection. The ‘failure’ connection name will be automatically applied by NiFi if you have a ‘failure’ relationship between your two processors. You can right click on a connection and edit it and change the name to include the word ‘failure’ if you want to always ensure that flow files which travel along that path fail the job in Kylo.
Additionally if you manually ‘Empty the Queue’ in NiFi it will fail those corresponding jobs in Kylo.
Available templates
Kylo provides some ready to be used templates in the Kylo repository
Data Ingest
Data Ingest template is used to import data from with various formats (CSV, JSON, AVRO, Parquet, ORC) into Hive tables.
JSON
There is a limitation with the JSON file format:
- Ensure ‘skip header’ is turned OFF. This will allow all of the JSON data in file to be processed. Otherwise the first record will be skipped.
- Ensure that this jar file is provided to the Validator step via the ‘Extra JARs’ parameter (HDP location shown for reference): /usr/hdp/current/hive-webhcat/share/hcatalog/hive-hcatalog-core.jar. Otherwise, an exception will be thrown: “java.lang.ClassNotFoundException Class org.apache.hive.hcatalog.data.JsonSerDe not found”
- The JSON data in the file should be on one row per line.
Example: .. code-block:
{"id":"978-0641723445","cat":["book","hardcover"],"name":"The Lightning Thief","author":"Rick Riordan","series_t":"Percy Jackson and the Olympians","sequence_i":1,"genre_s":"fantasy","inStock":true,"price":12.50,"pages_i":384} {"id":"978-1423103349","cat":["book","paperback"],"name":"The Sea of Monsters","author":"Rick Riordan","series_t":"Percy Jackson and the Olympians","sequence_i":2,"genre_s":"fantasy","inStock":true,"price":6.49,"pages_i":304}
Repository
Repository makes it easier to register/import templates into Kylo without having to browse through the file system everytime. By default, templates from /opt/kylo/setup/data/repository/templates, coming from kylo.template.repository.default property, are displayed (see screenshot below).
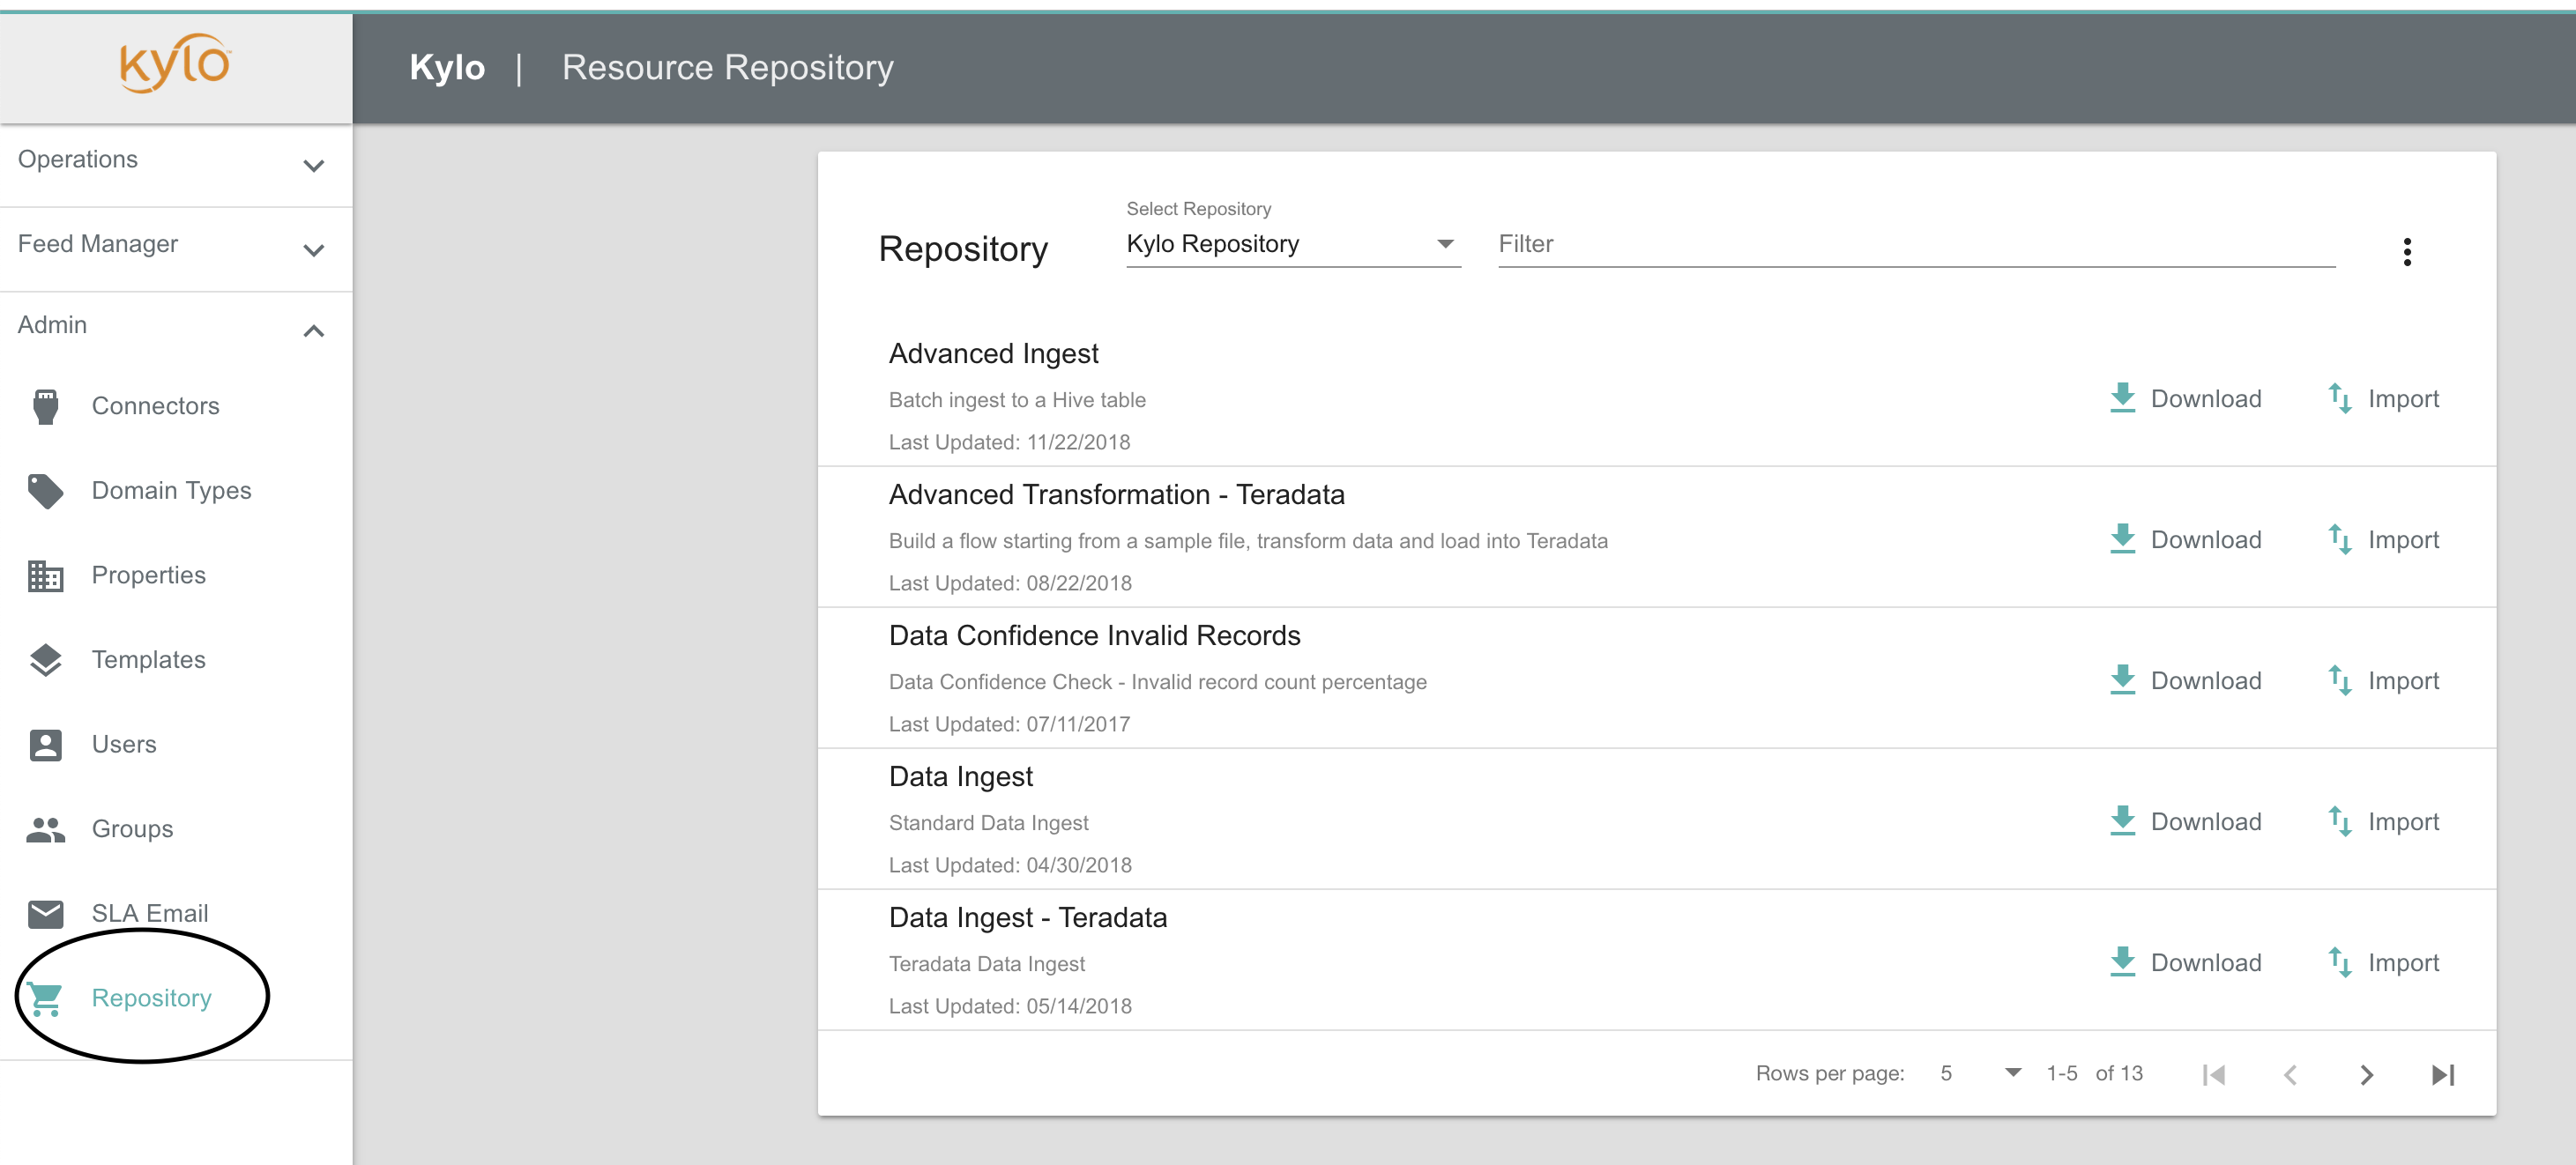
The default Kylo Repository is read-only and therefore templates cannot be published to this repository. Create a new repository to publish new or modified templates.
Create new repository
- Open repositories.json under /opt/kylo/kylo-services/config folder.
- Add a new line between [] brackets.
{"name": "<name-of-repository>", "readOnly": false, "location": "<path-from-root>", "type":"FileSystem"}
- name: Name of repository to be displayed.
- readOnly: Templates can be imported from this repository, but cannot be published here.
- location: Folder location from root with read-write access to Kylo. If not reachable, it is not displayed on UI.
- type: Templates or feeds will be read from filesystem. Only filesystem is supported as of now, more possibilities may be added in the future.
- Repeat Step 2 to add more repositories. Separate the lines by a comma.
- Restart kylo-services (service kylo-services restart).
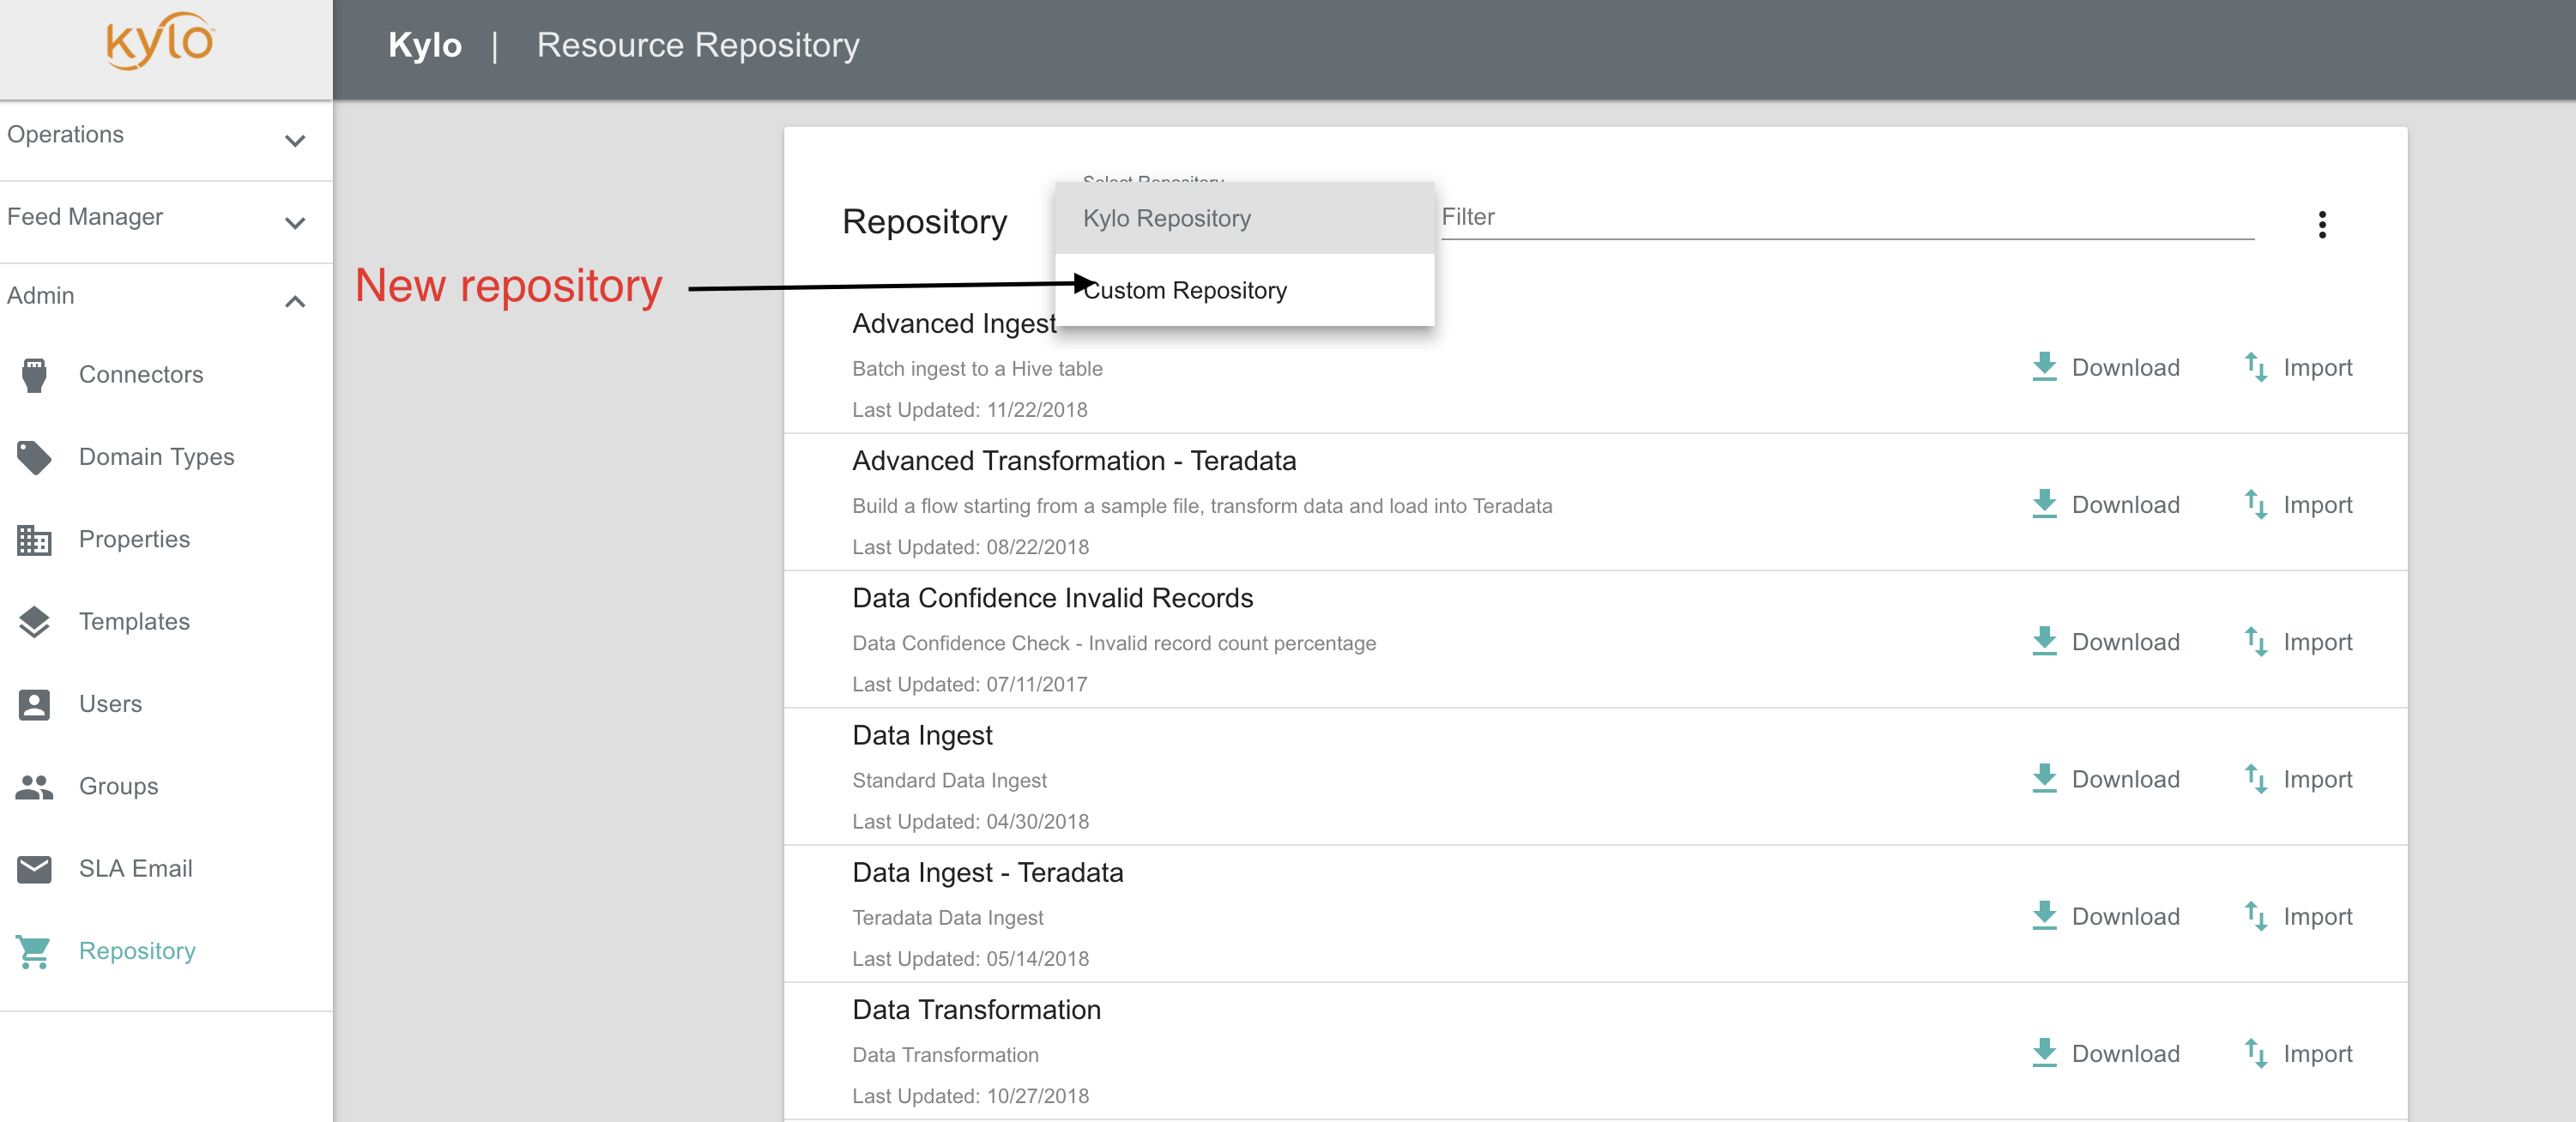
For example, if the repositories.json file looks as below:
{"name": "Custom Repository", "readOnly": false, "location": "/opt/0.10.0/templates", "type":"FileSystem"}
The new repository is now visible from Repository page (see below)
Import Template
- Go to Admin -> Repository
- Select the repository from drop down
- Click ‘Import’ to import or update the template.
Publish Template
- Open any of the registered templates.
- Click on Publish.
- Select the repository to publish to.

- Go to Admin -> Repository and select repository from dropdown, to verify the template has been published.
Important
If the repository location in repositories.json does not exist/not reachable/readOnly=true then the repository will not be displayed in publish popup window.
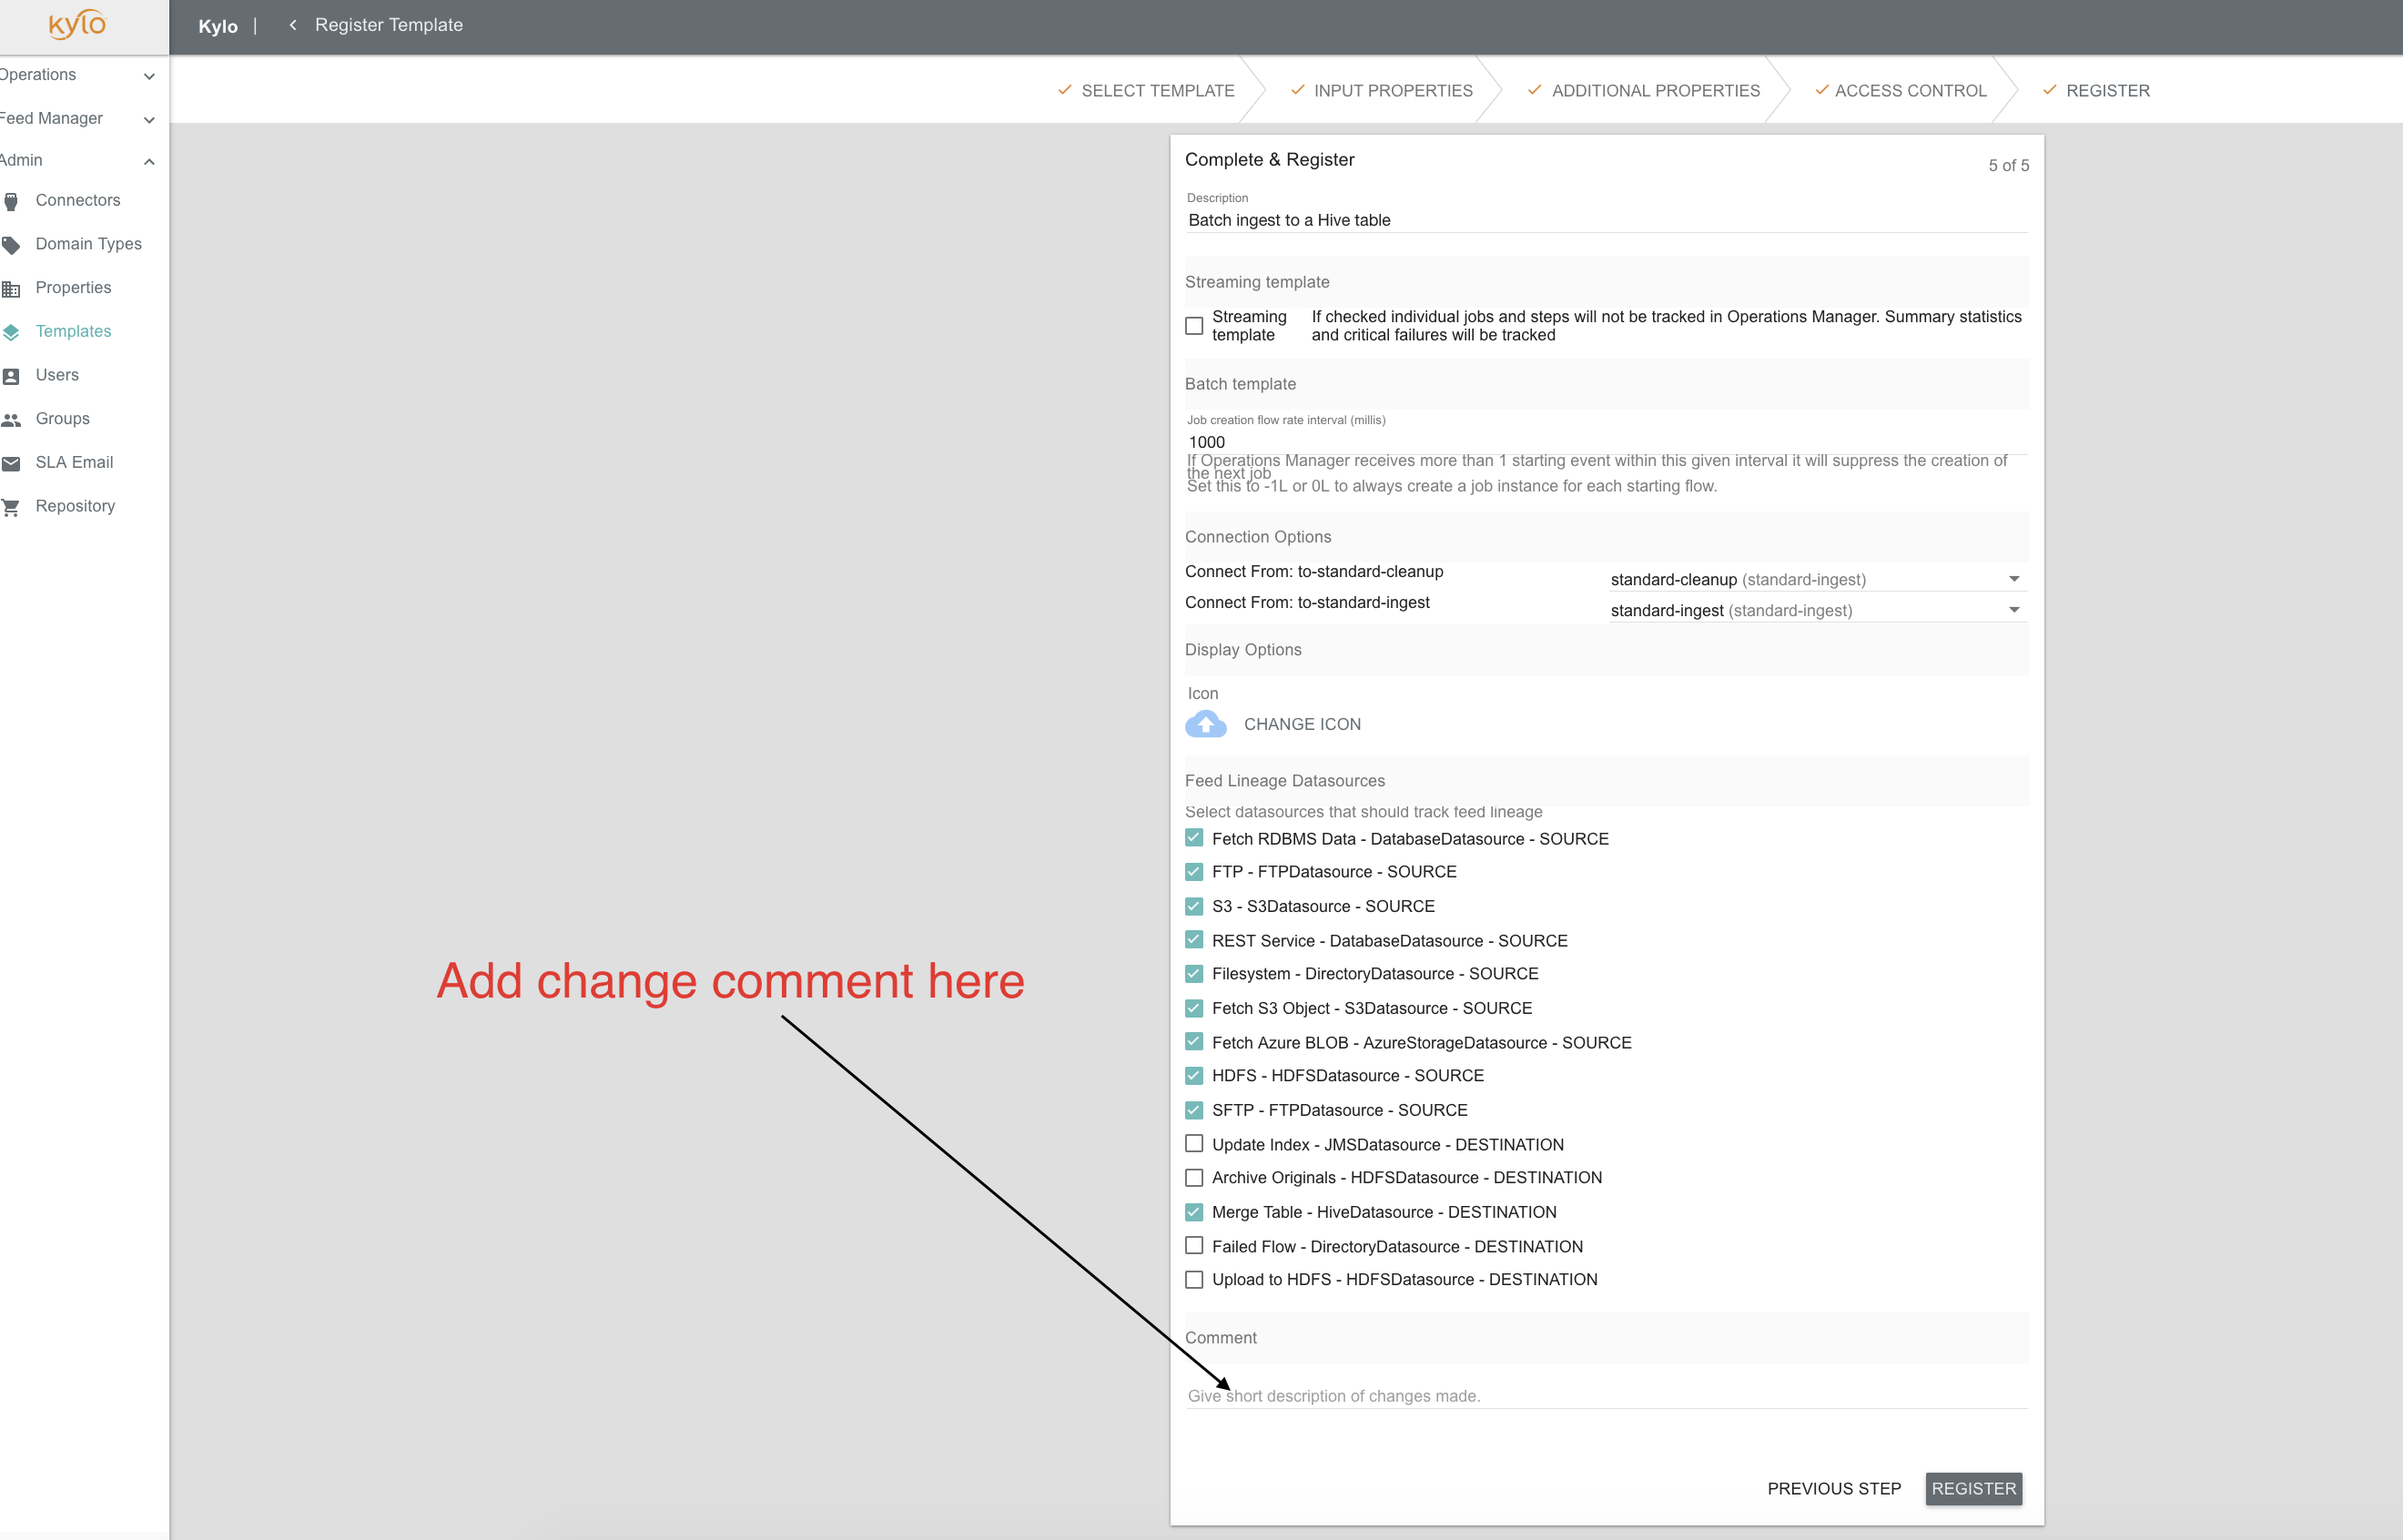
Add change comment to template
- If a registered template is modified, you can enter a brief description of the change before saving the template.
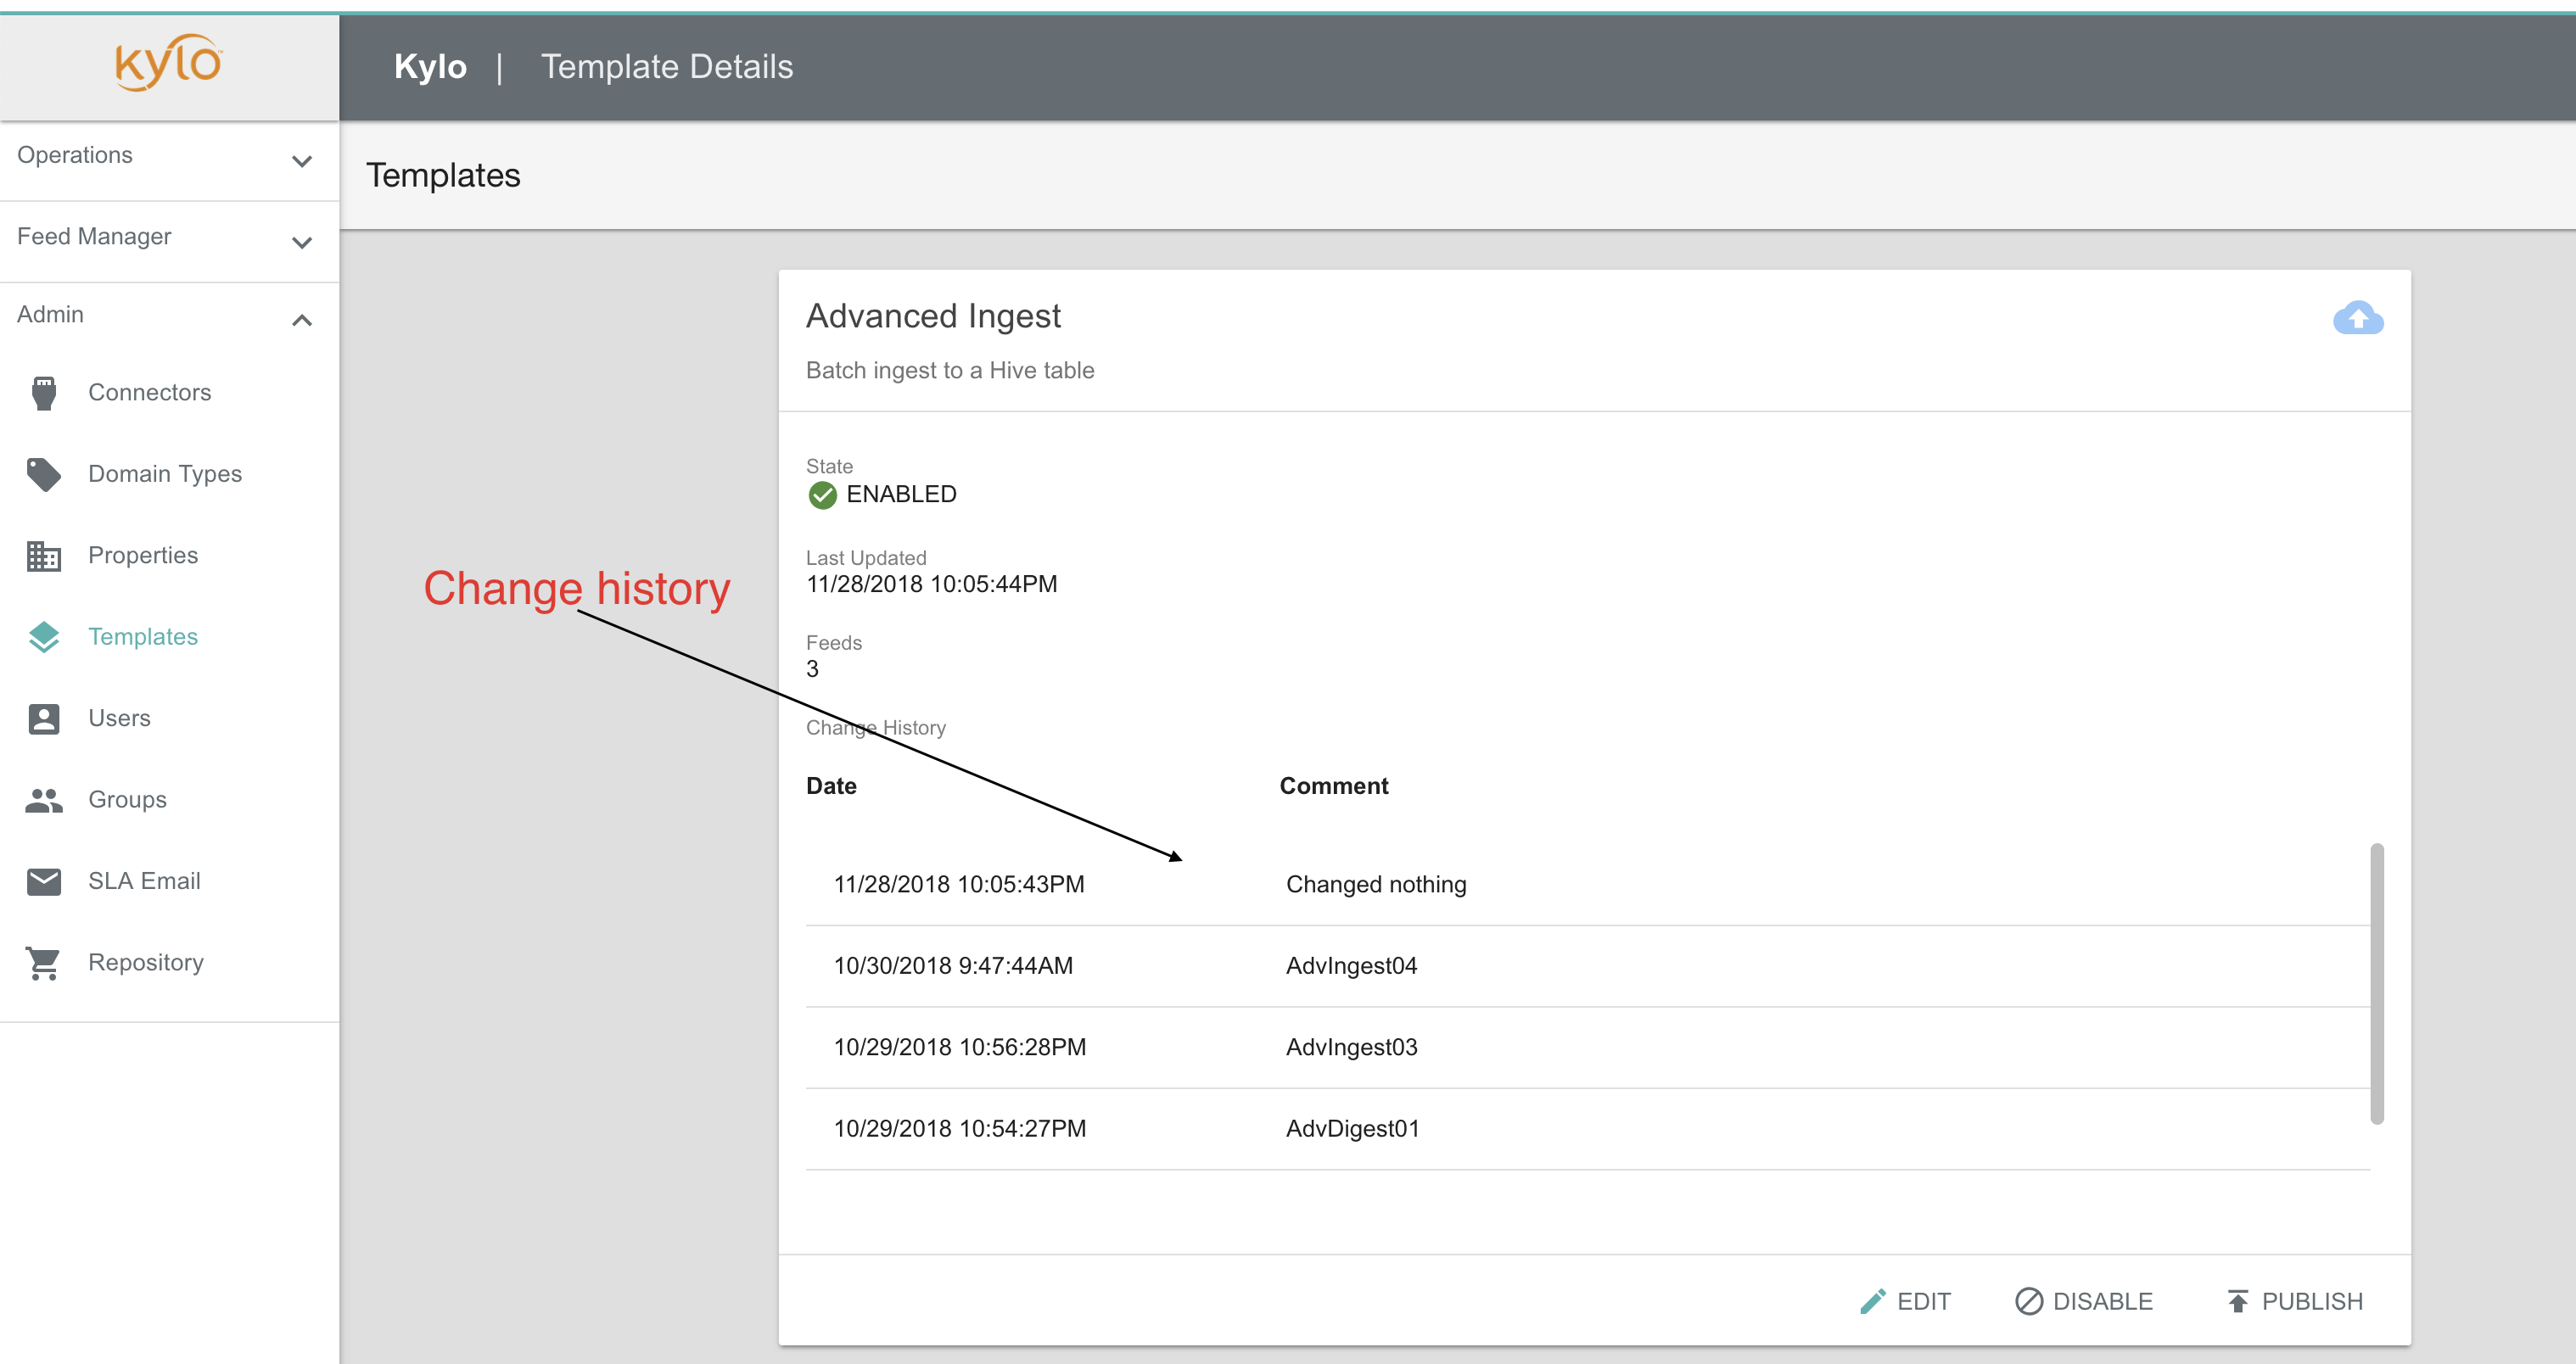
View change comments
- Any change comments for a template can be viewed in template details view
An internal cache is maintained to track template updates. In cluster mode, this cache needs to be refreshed. Add expire.repository.cache=true in application.properties to enable this cache auto refresh.